Preparation Mode in e-Activities
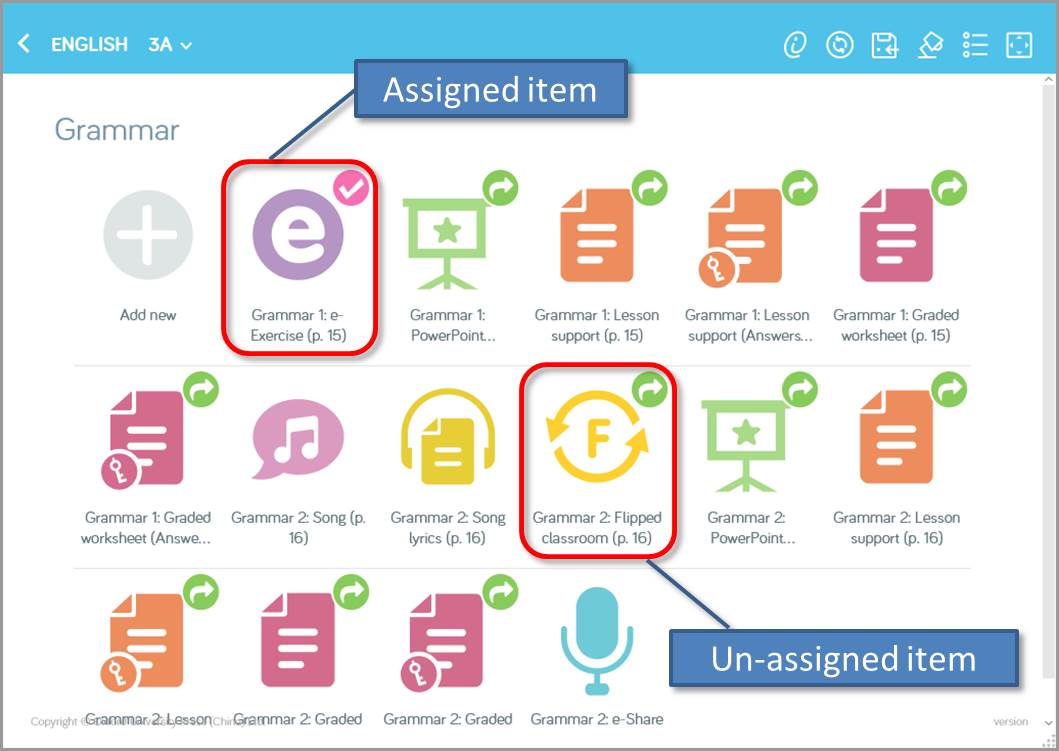
Some of the e-Exercises, e-Activities and resources need to be assigned to students before using.
Teachers can choose whether to assign these learning materials to students or not and also rearrange the display order of the icons while using preparation mode.
In order to switch to preparation mode, teacher needs to:
Teachers can choose whether to assign these learning materials to students or not and also rearrange the display order of the icons while using preparation mode.
In order to switch to preparation mode, teacher needs to:
| 1. | Click an icon from the iSolution dashboard to open the e-Activities. |
| 2. | Download contents of the book. |
| 3. | Select the relevant e-Exercise module from the content page. |
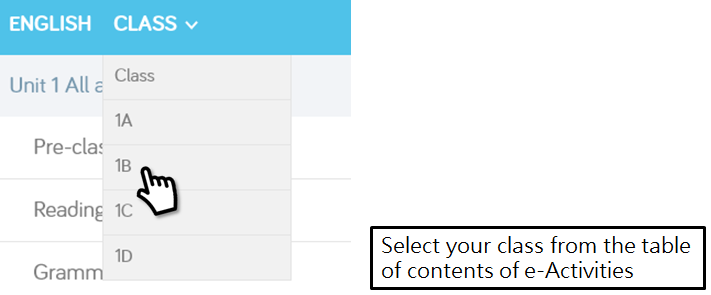
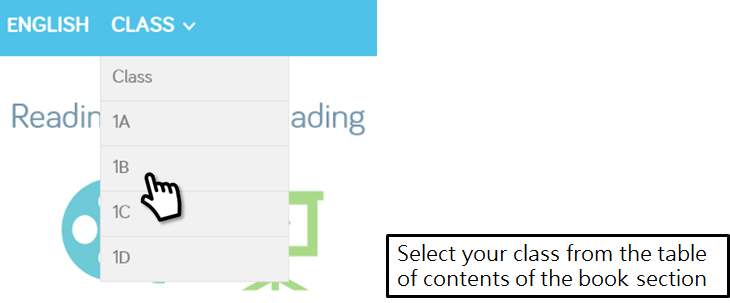
| 4. | Click  to select your class from the list. You can choose the class from: to select your class from the list. You can choose the class from:
|
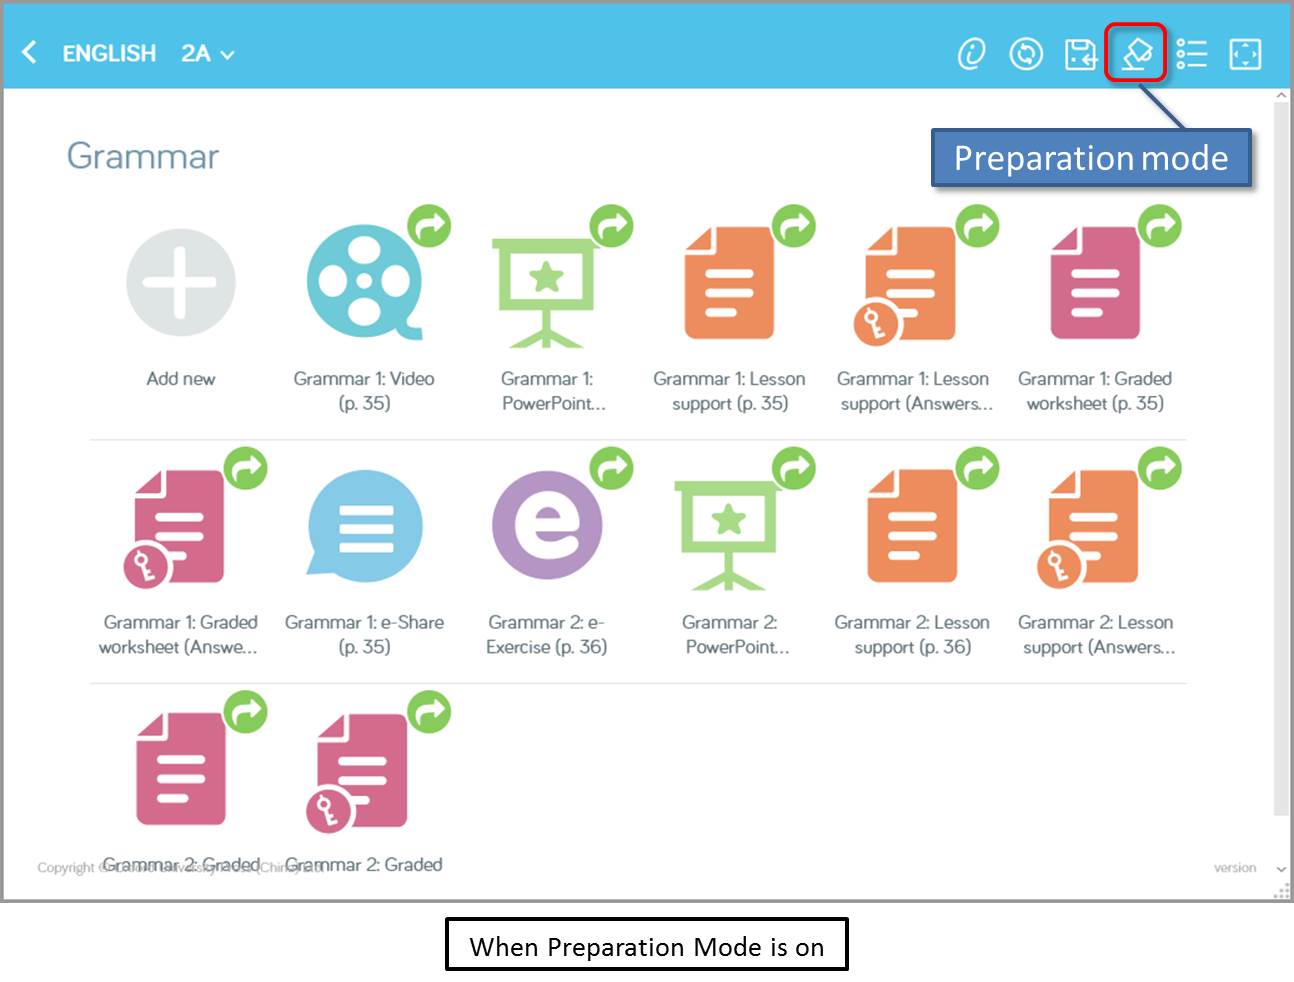
| 5. | Click  on the upper right corner to switch to Preparation Mode. on the upper right corner to switch to Preparation Mode. |
| 6. | Click  to switch back to Lesson Mode. to switch back to Lesson Mode. |


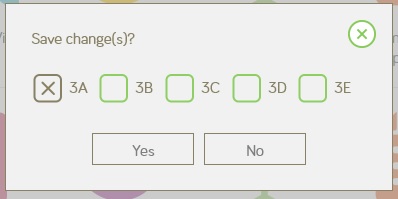
 on the toolbar. Select the class(es) that you would like to apply the changes. Then click Yes to save.
 on the toolbar to refresh the content.
 at the toolbar to switch to Preparation Mode
  .
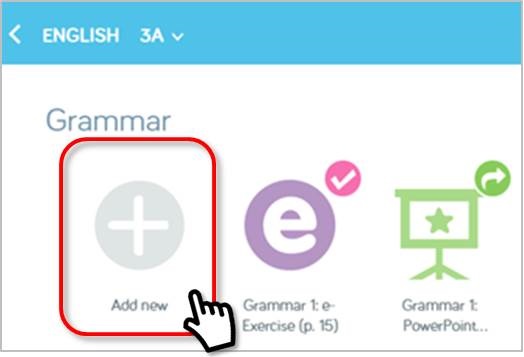
.
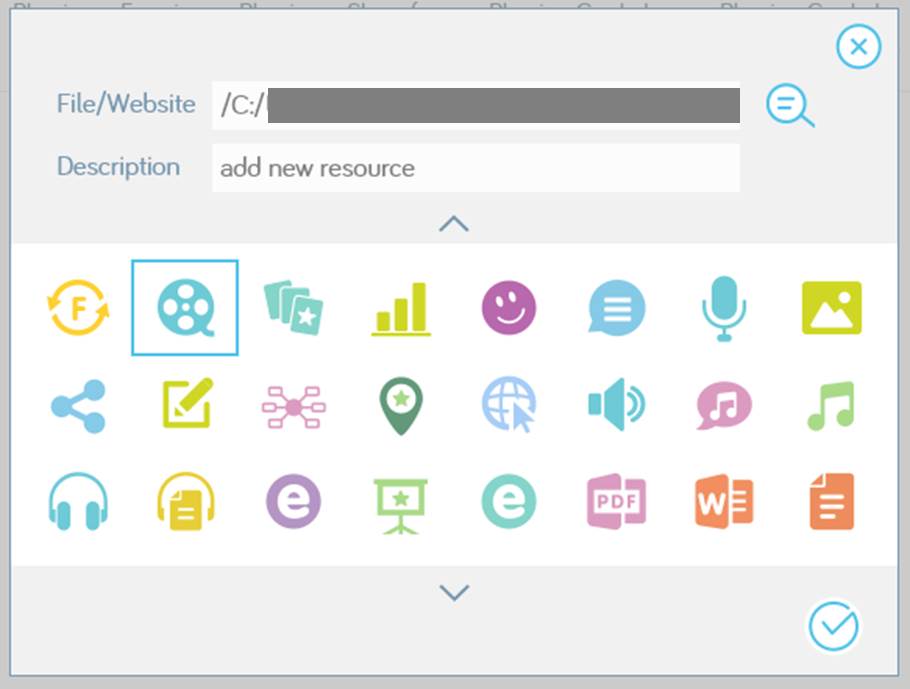
 to select the file from your PC, or enter a website address.
 to confirm. Your newly added file is now saved in the e-Activities.
 > Yes to save the changes.